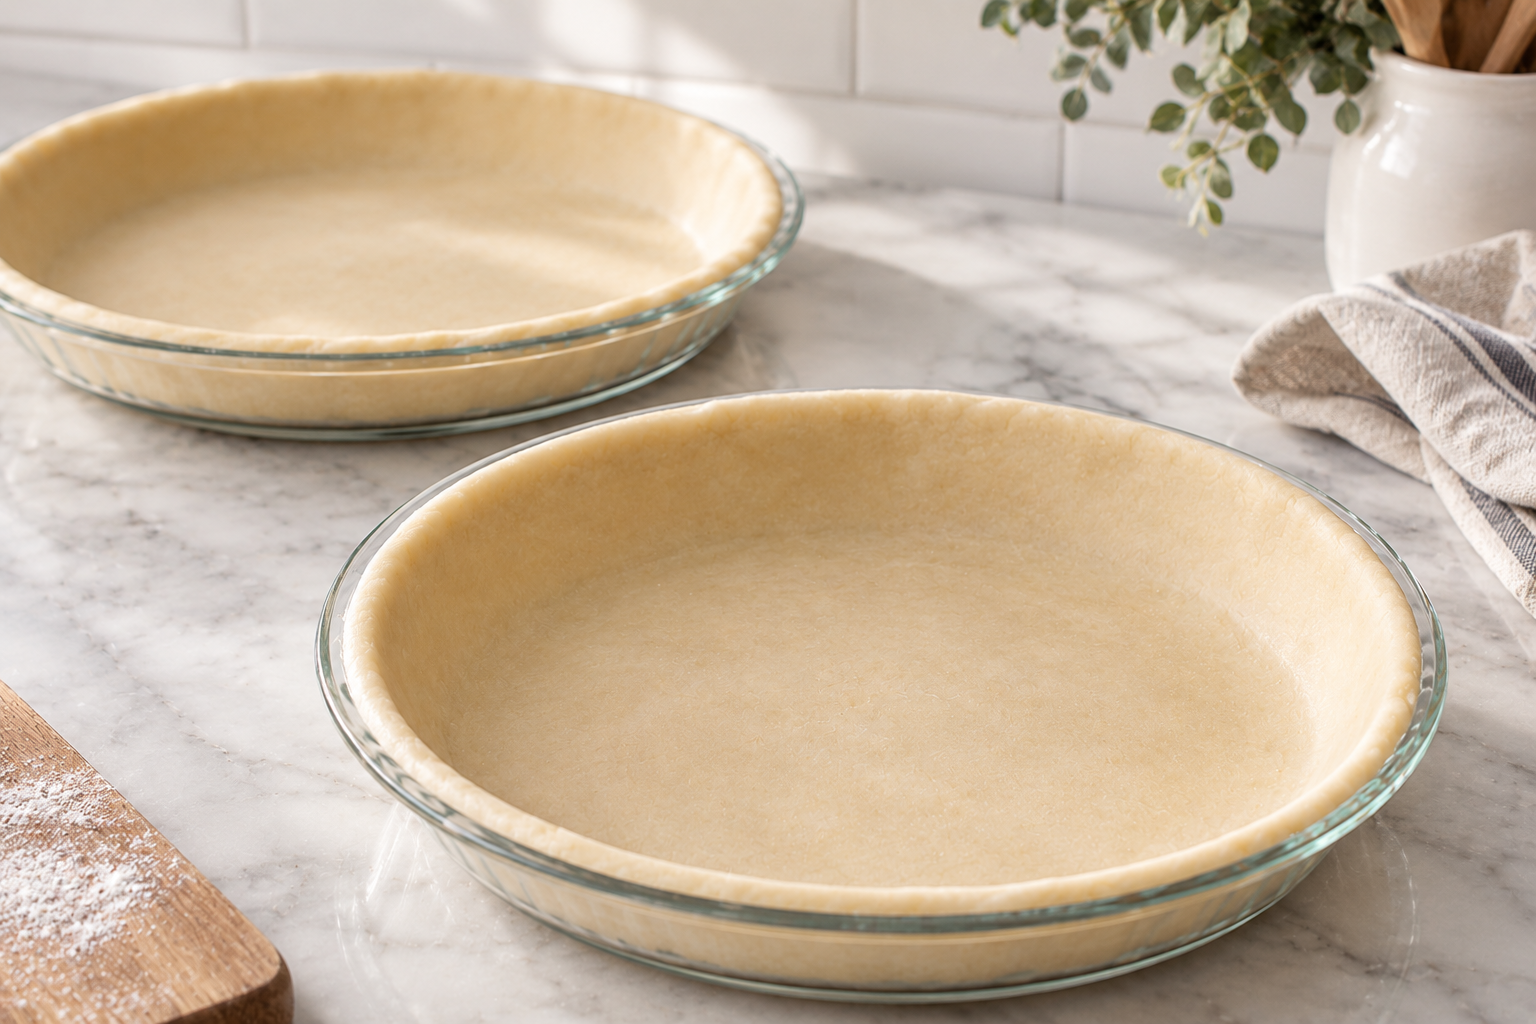
A good pie is only as good as its crust, and this one has never let me down. It’s flaky, buttery, and comes together easily with a stand mixer, no cutting in butter by hand for twenty minutes while it slowly melts into a greasy mess. If you’ve ever been intimidated by pie crust, this is the recipe that’ll change your mind.
It makes enough dough for a double-crust pie, or two single crusts, so it’s perfect for pairing with a recipe like my Easy Thanksgiving Pumpkin Pie, which needs two bottom crusts.
Why This Crust Works
- Butter and shortening, together. Butter brings flavour, shortening brings flakiness and a dough that’s easier to work with. Using both gives you the best of each.
- The stand mixer does the work. No more cutting in cold butter by hand. The dough hook mixes everything evenly without overworking it.
- The pinch test. No guessing about how much water to add. If the dough sticks together when pinched, it’s ready.
- A short chill. Just 20 minutes firms the dough up enough to roll without falling apart.

No Fail Pie Crust
Ingredients
- 2 1/2 cups flour
- 1/2 tsp salt
- 2 tbsp sugar
- 3/4 cup butter chilled and cut into cubes
- 1/2 cup shortening chilled and cut into cubes
- 6-8 tbsp ice water
Instructions
- Combine flour, salt, and the sugar stand mixer fitted with the dough hook.
- Add the butter and mix for about 2-3 minutes.
- Add shortening and mix for another 2-3 minutes. The mixture should resemble coarse cornmeal
- Add 6 tablespoons of ice water and mix until the dough is pulling away from the sides of the bowl. Pinch the dough and if it sticks together then it's done. If it doesn't stick together add another tablespoon of ice water at a time until it does.
- Place dough on a clean surface and divide it into 2 balls equal in size. Flatten each ball into a 4-inch disk and wrap with plastic wrap and put in the fridge for 20 minutes or longer, just to stiffen it up so you can work with it a little longer.
- After the dough has been chilled you can start rolling it. If it's a little too stiff wait a couple of minutes for it to warm up. Sprinkle a little bit of flour on top of the dough so the rolling pin doesn't stick to it.
- Once you have a big enough piece of dough place it in the pie dish. The easiest way to place dough in the dish it to lightly fold it in half then in half again. Place it in the dish and carefully unfold the dough.
- If you are making a double-crust pie (top and bottom) repeat the process for the top crust.
Tips for Success
Keep everything cold. Cold butter and shortening are what create those flaky layers, so work quickly and pop the dough back in the fridge if it starts to feel soft.
Don’t skip the chill. Even a short rest in the fridge makes a big difference in how easy the dough is to roll and handle.
Measure flour carefully. Too much flour makes for a tough crust. Spoon it into the measuring cup and level it off, rather than scooping directly from the bag.
Freezer-friendly. These disks freeze well. Wrap tightly and freeze for up to three months, then thaw in the fridge overnight before rolling.
This crust is the base for so many of my favourite pies, and once you’ve made it a couple of times, it really does become foolproof. Let me know in the comments if you give it a try!